This section describes how to perform typical editor tasks using dLibra “Editor's application”.
To create a new directory:
In the Library Tree select the library directory to which the newly created directory should belong.
From the popup menu select the . Alternatively, the toolbar button
 or main menu
options can be used.
or main menu
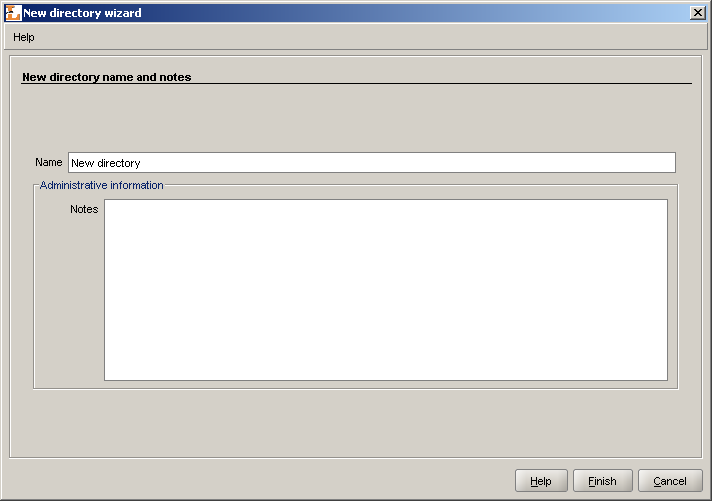
options can be used.In the New Directory Wizard enter name and description for the new directory. Press Finish button to create the directory.
To remove a directory:
In the Library Tree Select the directory to be removed.
Press the
 Delete button. Alternatively, a context menu
or a pull-down menu can be used.
Delete button. Alternatively, a context menu
or a pull-down menu can be used.If the directory contains at least one publication it is possible to specify remove reason for all the publications contained in the directory.
To move a directory or a publication from one location to another - use drag-and-drop method or Cut/Paste options from the context menu.
To create a new group publication:
Select in the library tree the directory or group publication the new group publication should belong to.
From the popup menu select the New publication... function. Alternatively, the toolbar
 or main
menu options can be used.
or main
menu options can be used.Enter the name and notes for the new group publication and click button to finish.
![[Note]](gfx/admonitions/note.gif) | Note |
|---|---|
Before a new publication can be placed in the library all its files must be present in a directory on a local disk. | |
To create a new publication:
In the library tree select the directory or group publication the new publication should belong to.
From the popup menu select the function. Alternatively, the toolbar
 button or main
menu options can be used.
button or main
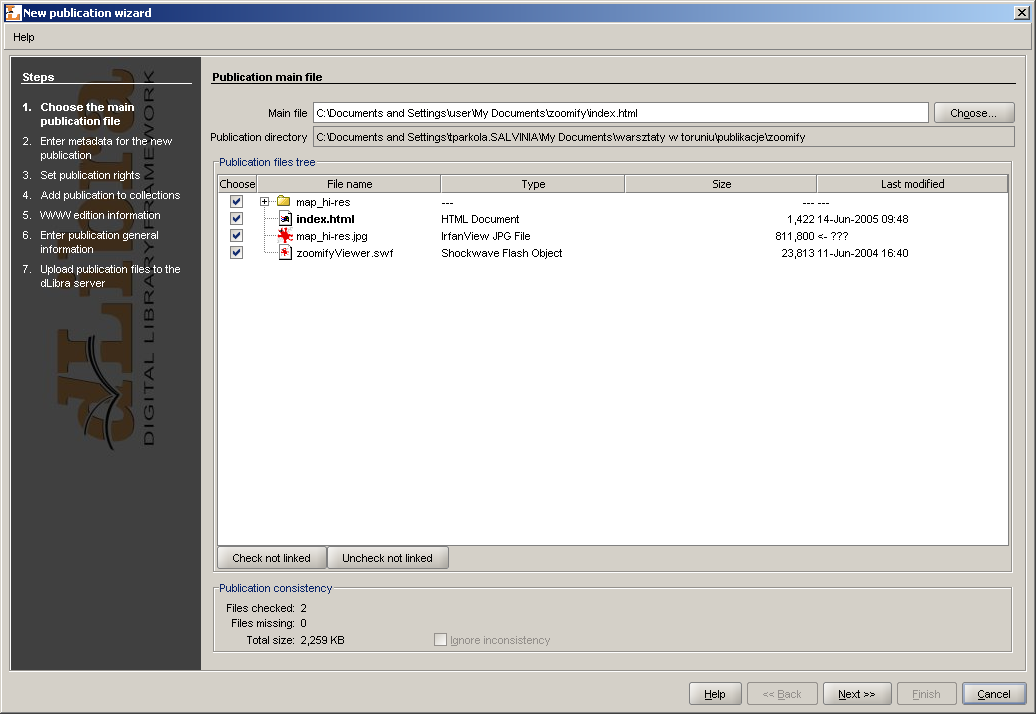
menu options can be used.In the first step of the New Publication Wizard ( Figure 3.14, “New Publication Wizard - main publication file page” ) select the main publication file. If the publication consists of one file such as a PDF or a MS Word document the file should be selected. In case the publication is in the HTML or DJVU format the top level (e.g. the index.html) file should be selected.
If the main publication file is an HTML or DJVU file the wizard will check whether all the linked files are present. It is strongly recommended that only complete publications (without missing files) are put into the library. However, using the Ignore inconsistency option it is possible to proceed with an incomplete publication. All files publication consists of will be added to publication files table. There is no way to uncheck them, they all will be sent to server.
Besides files found by the creator, in the files table all other files (which are in the directory tree of the directory which encloses the main file) will be placed. By default these files are not checked to send to the server. It is possible then to add files which were not found by the creator, but belong to the publication.
Notice that main publication file cannot be unchecked and it will always be sent to the server with application being uploaded.
Press the button to move to the the page.
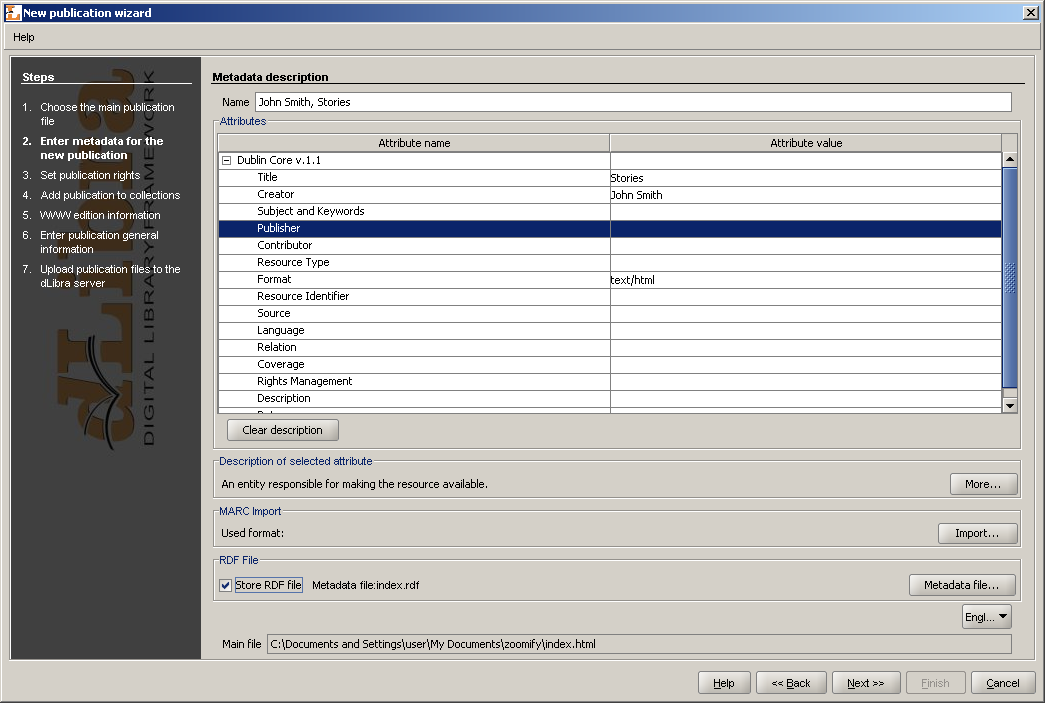
In the second step ( Figure 3.15, “New Publication Wizard - attribute values page”) publication may be described with a set of attributes. Bibliographic description may be imported from a file saved in MARC 21 communication format or RDF format. The way for defining attributes' values and importing from both formats is described in the part concerning Bibliographic description editor. In order to proceed to next step a publication name has to be given (field with Name label). By default the name is created basis on bibliographic description throught combining the title, author and publishing date. For example, if the title is “Stories”, author is “John Smith” and the publishing date is “2004” then the name will be “John Smith, 2004, Stories” --- first author, then publishing date and title. Whenever a user changes the attributes' values the name is updated. Press the button to move to the next steps.
In the third step ( Figure 3.16, “New Publication Wizard - publication rights page” ) user can add appropriate rights to created publication. For more details about rights management for publication see section Rights editor. Press the button to move to the next steps.
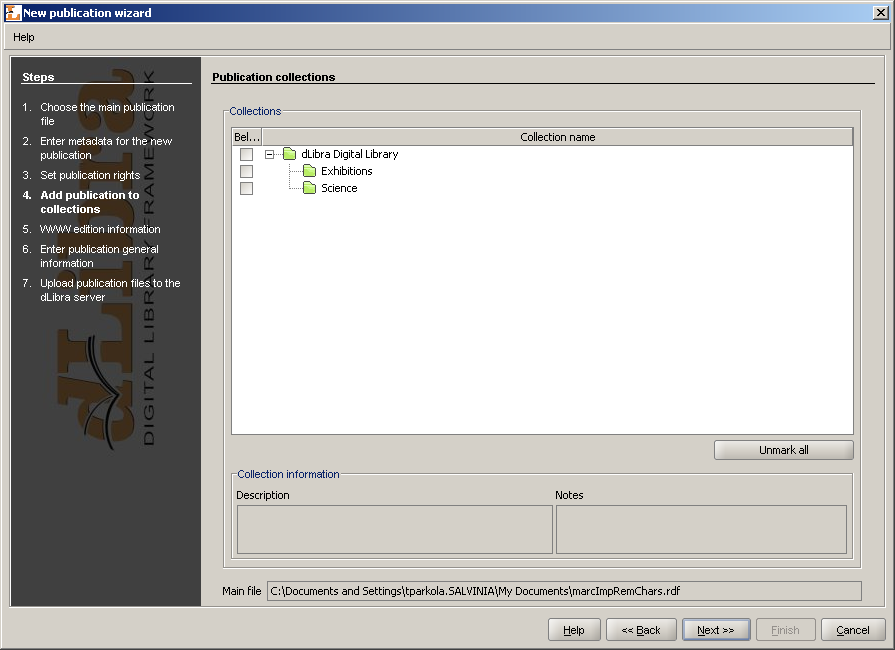
In the fourth step ( Figure 3.17, “New Publication Wizard - publication's collections page”) it is possible to assign publication to collections. This mechanism is exactly the same as described in Publication's collections editor. Press the button to move to the next step.
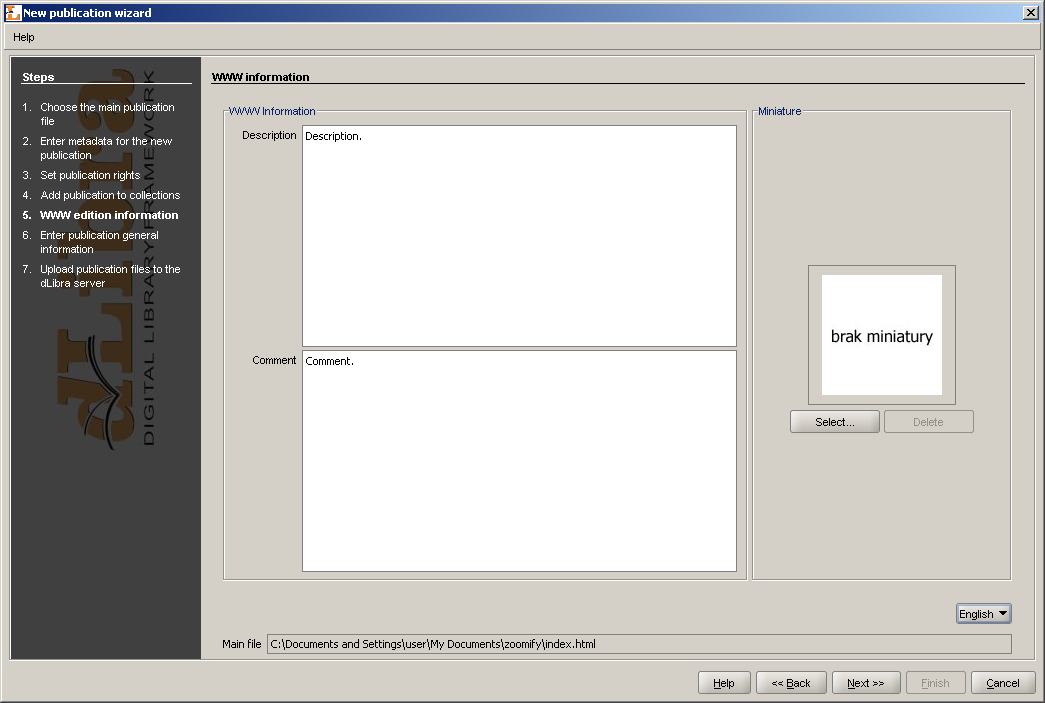
In the fifth step ( Figure 3.18, “New publication wizard - WWW information”) it is possible to specify WWW information concerning the first edition of the new publication. WWW information consists of:
Description - short edition description, e.g. what does it concern, visible near search results on the web application (in order to show user only important notes about the edition it is recommended to provide the description possibly short --- one or two sentences),
Comment - characteristic information concerning the edition, e.g. specific marks (for example lack of one page),
Miniature - graphic edition representation visible by the web application users near infromation about the edition.
Press the button to move to the next step.
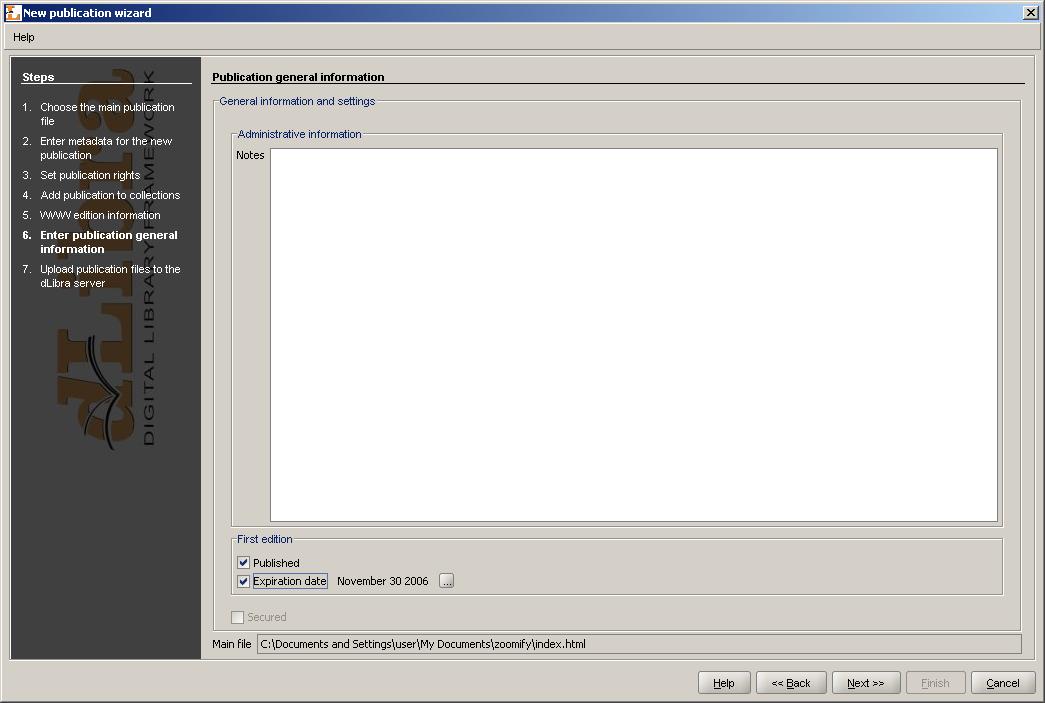
Step sixth ( Figure 3.19, “New publication wizard - general information”) enables providing three pieces of information:
Notes - administrative notes concerning publication
First edition - panel which allows for publishing the first edition (uncertain or time publishing)
Secured - check box which allows for securing publication from copying (applies only to HTML publications)
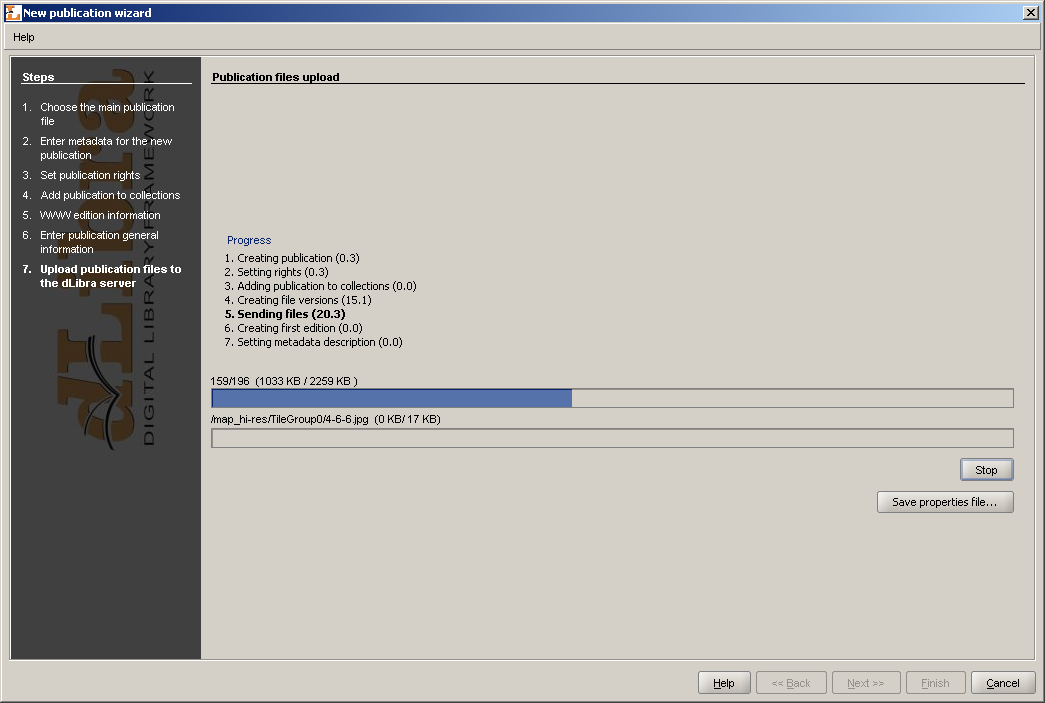
Uploading files on the server is the last step ( Figure 3.20, “New publication wizard - creating publication on the server”). Press the button to create publication on the server. The process can be paused and resumed pressing the button again. During the creation process on the Progress panel all operation which have to be performed are presented. Operation which is being performed is bolded. For every operation elapse time is measured and presented (in seconds) in the brackets after the operation name. Progress bars inform about progress of currently performed operation. When all operations are finished short summary is presented. During the creation process it is possible to cancel it (e.g. press the button).
Button enables saving information describing publication (such a file can be used as an example for mass publication upload).

To create a new planned publication
In the Directories Tree select directory or group publication which new planned publication is supposed to be in
From the popup menu select New planned publication.... It is also possible to select this option from toolbar or main menu.
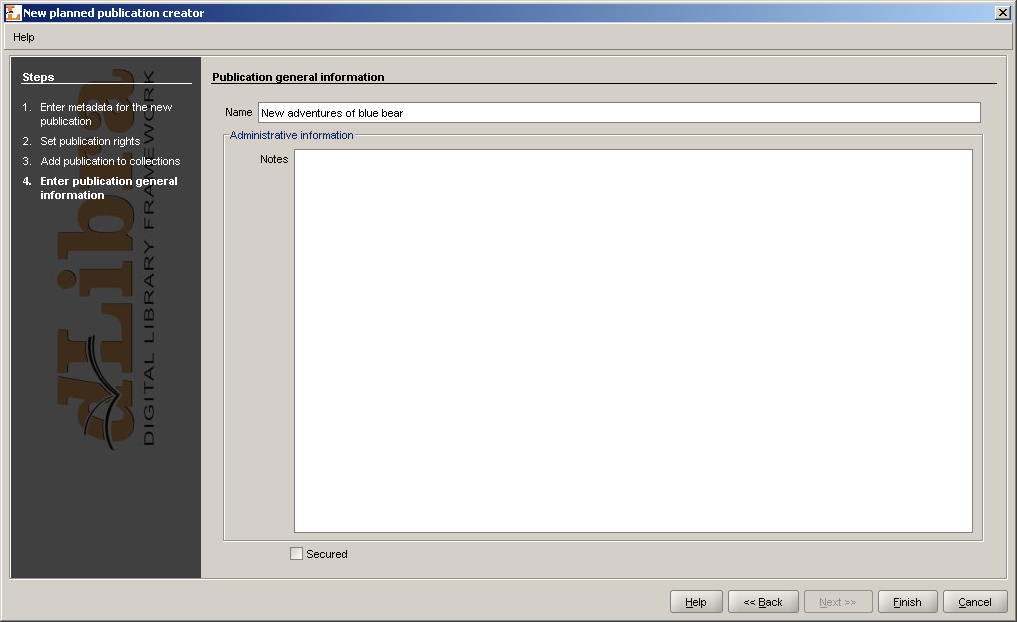
Planned publication wizard consist of four steps. The first step is the same as the second step of new publication wizard. The second step is the same as the third step of new publication wizard. The third step is the same as the fourth step of new publication wizard. In the last, fourth step of new planned publication wizard ( Figure 3.21, “New planned publication wizard - general information” ) specify the administrative notes and information whether the publication should be secured or not (Secured check box).
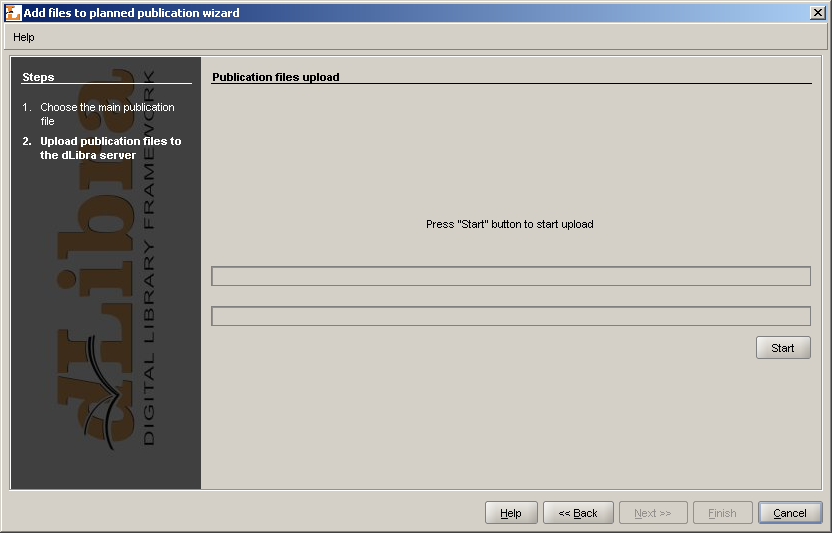
To add files to planned publication:
In Directories Tree select a planned publication which we want to add files to.
From the popup menu select Add files....
Add content wizard consists of two stepts. The first step is the same as the firts step of new publication wizard. The second step ( Figure 3.22, “Add content wizard - sending content (files) on the server”) allows for sending publication content on the server. In order to send selected files in the first step press button. Sending files on the server progress is presented on progress bars.
In order that reader could read publication's edition, it is required to assign to publication a “read” right for him and publish the edition. In order to publish the edition and assign a “read” right to the reader:
In the Directories Tree select the publication which edition is to be visible for the reader.
On the edition's general information tab (Edition) select Published option.
On the rights assignment tab (Rights) select the user name (or group name - if we want to assign right to the group of users) which you want to grant the “read” right and then select the View check box.
In order to approve the changes press the button. The publication is now visible for users which have “read” right assigned.
Content deleting is useful when we want to remove publication content (files), but leave editions' bibliographic description and the reason for deleting it.
To delete publication's content:
Select the publication on the Directories Tree,
From the popup menu select Delete content... option.
Enter the reason for removal. Attention! The reason is required in order to delete publication's content because it is usefull when informing readers that the publication was removed.