This section describes how to complete common administrator's tasks using the dLibra Administrator's Application.
To create a new collection:
In the Library Tree select the library collection which will be the supercollection for a newly created one.
From the popup menu select the function. Alternatively, the toolbar
 button or main
menu options can be used.
button or main
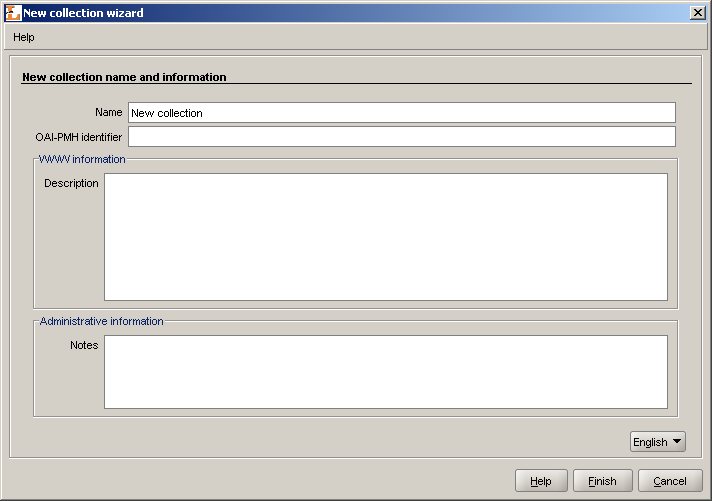
menu options can be used.In the New Collection Wizard enter name, description and notes for the new collection. Press Finish button to create the collection.
To remove a collection:
In the Library Tree Select the collection to be removed.
Press the
 Delete button. Alternatively, a context menu
or a pull-down menu can be used.
Delete button. Alternatively, a context menu
or a pull-down menu can be used.
Library Manager application allows user to manage attributes in dLibra system. It is possible through interfaces available after choosing attributes node or single attribute node in Library Tree.
Attributes in dLibra system are stored in a certain order, which is important in view of presenting bibliographic description of library resources. For every attribute (and the attributes node) it is possible to manage the order of its subattributes on the Attributes order tab ( Figure 4.4, “Attributes order management”).
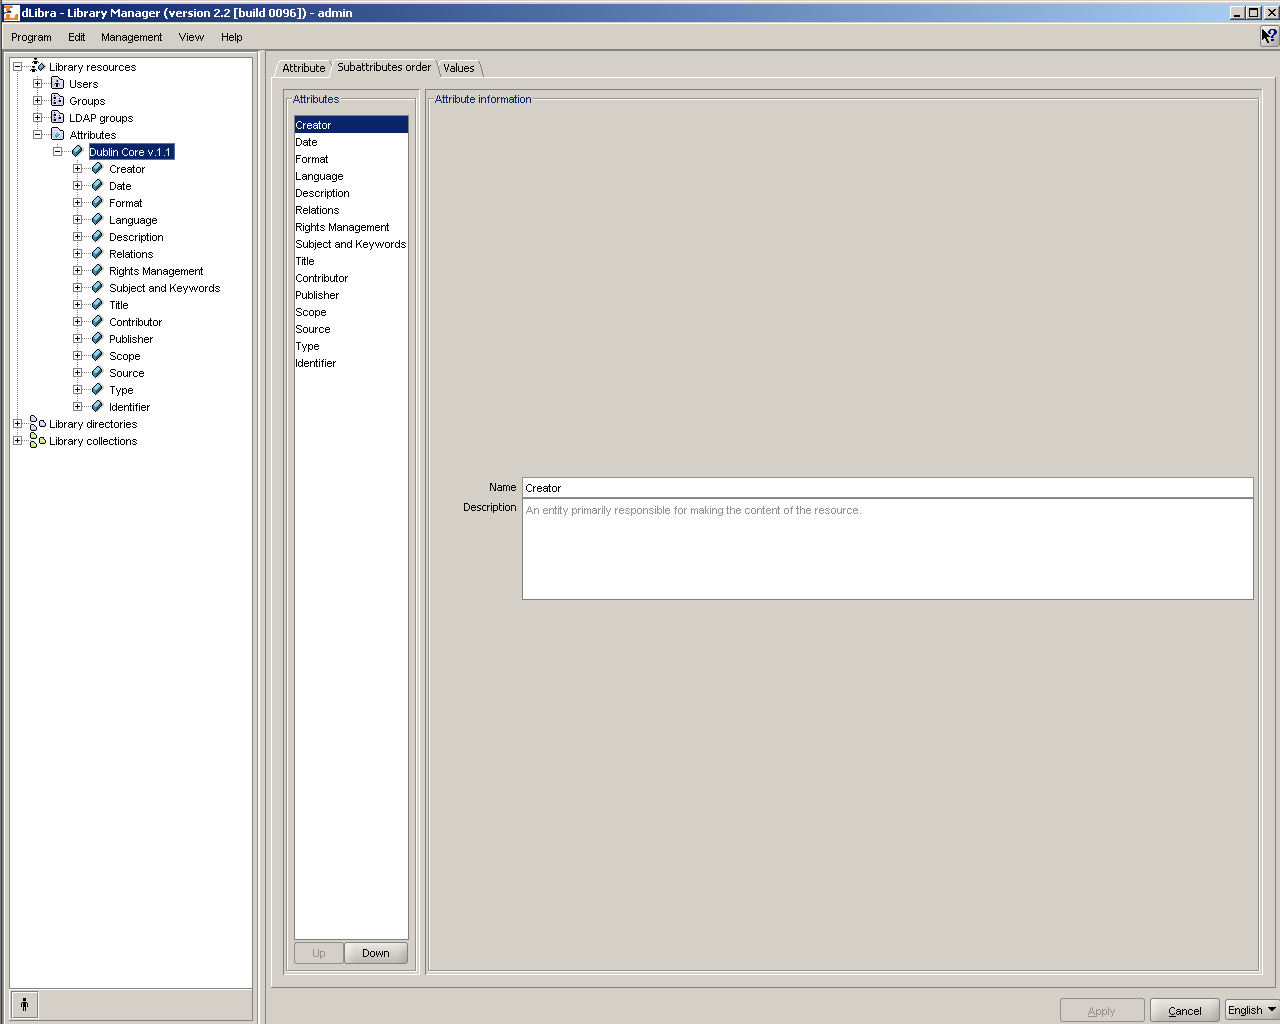
On the left side there is a list of attributes and on the right side there is information about currently chosen attribute. These values are only informational and cannot be edited here. Order of attributes in the list can be easily changed using and buttons. All changes must be confirmed by pressing button down the screen.
Editing attributes properties can be performed using the interface placed on a General information tab available after choosing single attribute node in the Library Tree. User can change name, RDF name, role and description of each attribute.
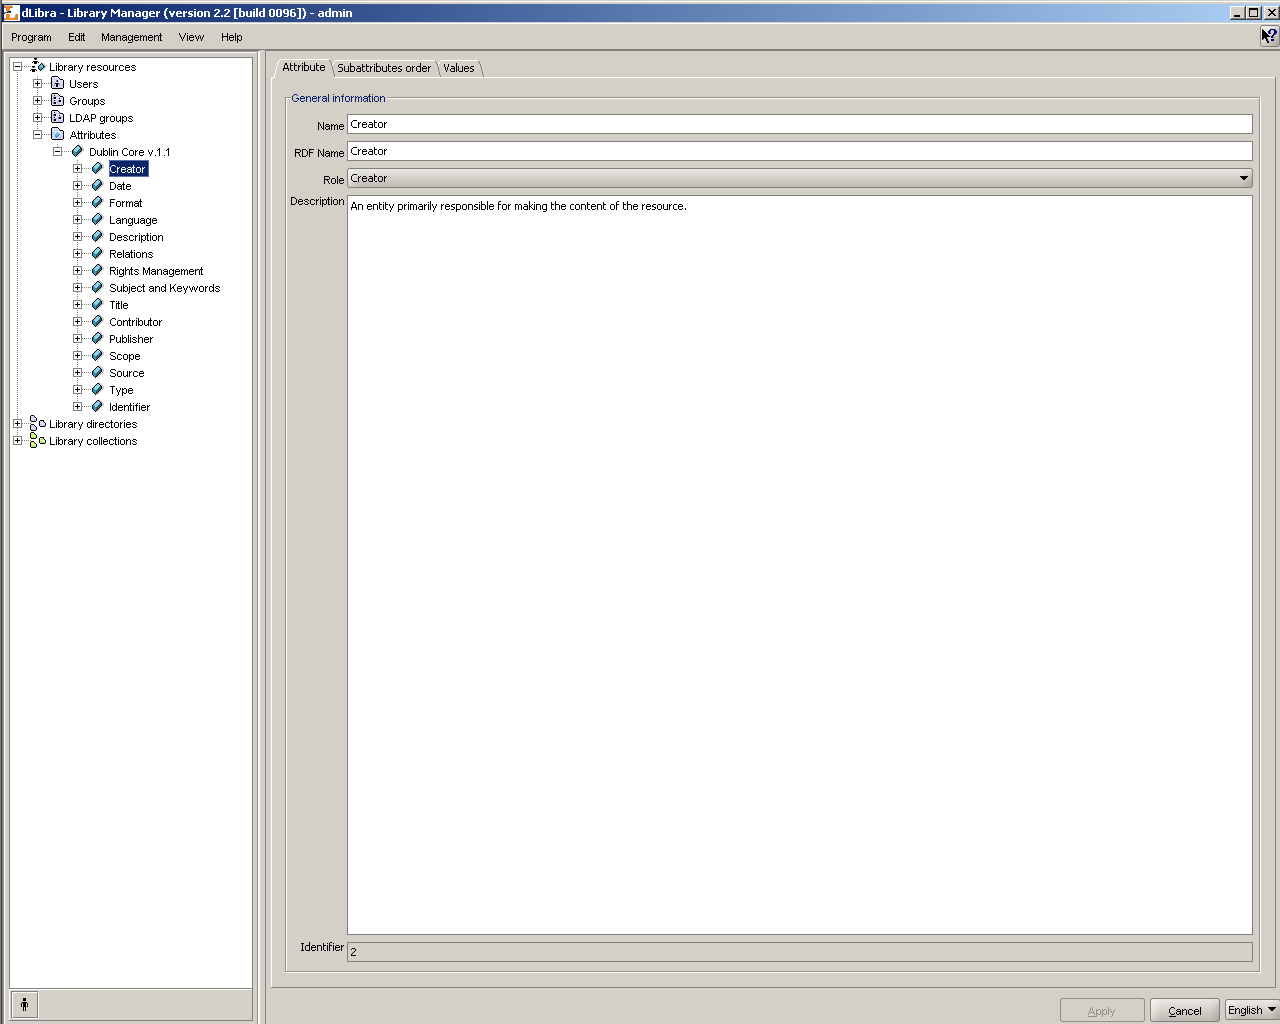
Name and description of an attribute are multilingual properties and they have informational character. RDF name is a unique name identifying attribute inside Dublin Core metadata scheme and outside the system. A single role can be assigned to an attribute, if it has a special meaning in a system and it's value is used in other contexts. dLibra system lets user to assign attribute one of the following roles:
- Contributor
- Coverage
- Creator
- Date
- Description
- Format
- Language
- Publisher
- Relation
- Resource identifier
- Resource type
- Rights management
- Source
- Subject and keywords
- Title
To add new attribute:
- Choose attributes node in the Library Tree. An interface to manage attributes will appear on a tab Attributes management.
- Click button placed below the attributes list on the left.
In the New Attribute Wizard enter name and description for an attribute for all languages. Enter the RDF name - a unique attribute identifier To create new attribute press button.
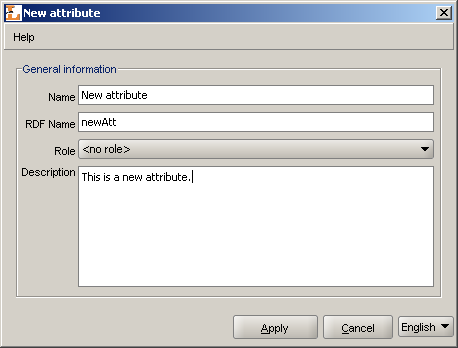
Newly created attribute will appear as the last element in attributes list and will be "grayed". Unless changes are committed by clicking button there is no way to edit it or change it's order. After applying it's colour changes to black and attribute is fully functional.
To remove attribute:
- In the Library Tree select the attribute's node to remove.
- Click the right mouse button on it and select option. If the attribute is connected with values then system will ask for confirmation, if not the attribute will be removed.
To edit properties of an attribute:
- Choose single attribute node in the Library Tree. An interface to manage attributes' properties will appear on a tab General information.
- Enter or choose new values in the fields Name, RDF Name, Role and Description. It is worth remembering that name and description are multilingual values. If a role is chosen that some other attribute has already had assigned, user will be asked to confirm the operation. Assigning this role to a new attribute will cause old attribute to be assigned "no role" value.
- All changes must be committed by clicking button.
The following section describes in details functions and operations allowing the management of synonyms' dictionary and describes steps to be taken to commit these actions.
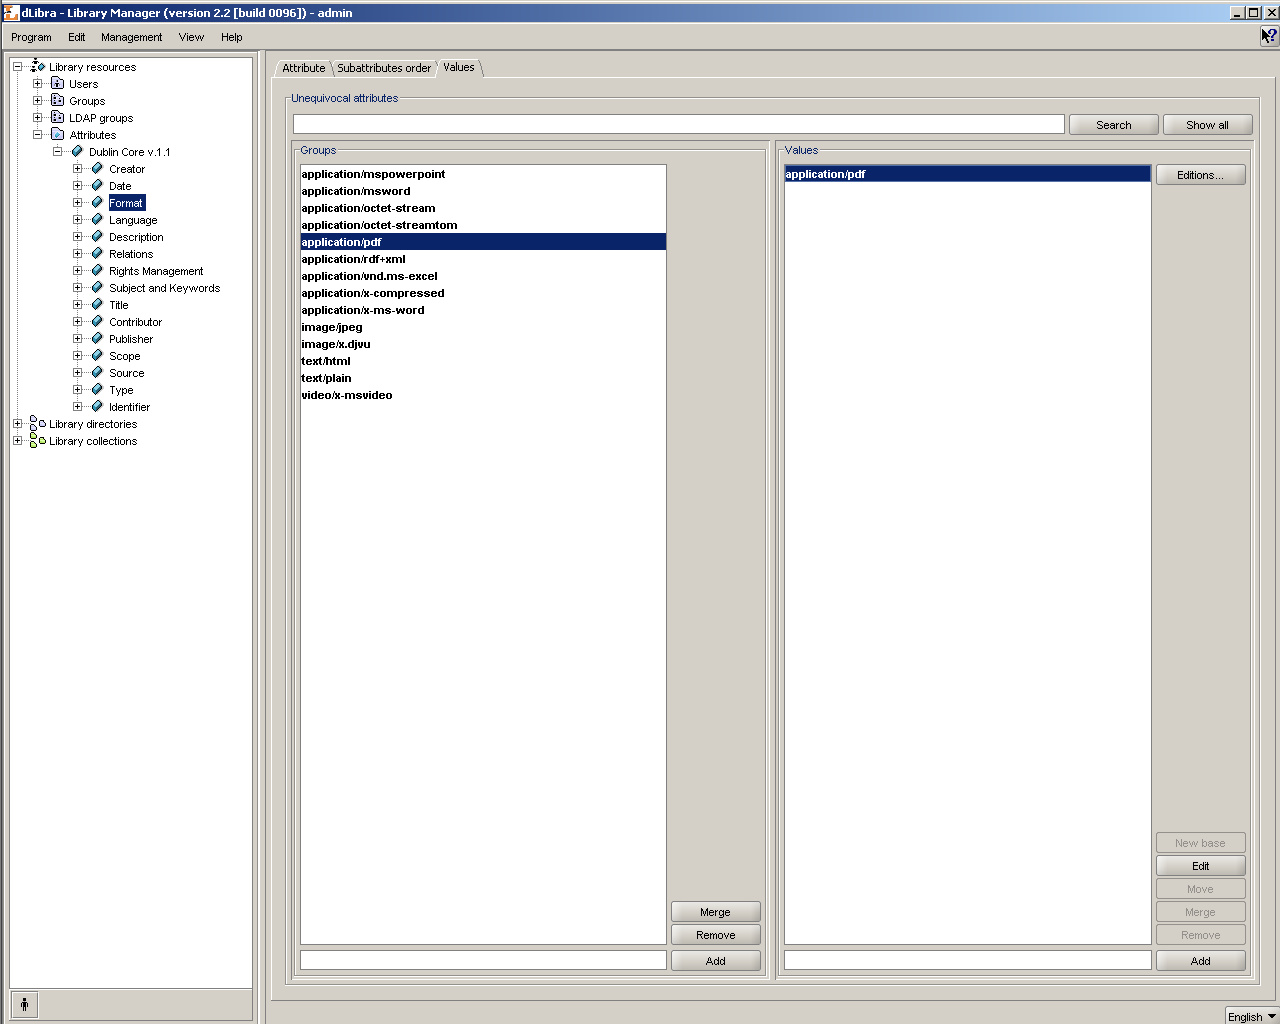
Interface to manage attributes' values is available after choosing a single attribute node in Library Tree and a tab named Values. Panel is divided into two parts - list o synonyms' groups on the left and list of single group values on the right. List of values is filled with values after choosing single group on the left list. Each list has additionally a set of buttons allowing to perform some operations on dictionary. All actions are described in details later in this section.
To create a new synonyms' group
In a text field placed below the groups list, a value for a base value in a new group should be entered. This value will also become a name for a new group. Value must not be already in use by some other group
To create a new group click button placed beside the groups list.
To remove a group of synonyms:
Choose a single group on a groups' list.
Press button placed beside the groups' list. After confirming, a group and all it's values will be removed from the list and from the system.
Caution! If any of the group's values is assigned to a bibliographic description of some library element, the system won't delete such a group and will show a dialog with information that all connections should be removed instead.
To merge two groups of synonyms:
Choose a group in a list, that has to be merged with other group.
A button should be pressed. After confirming an intention of merging the groups a new window with groups' list will appear.
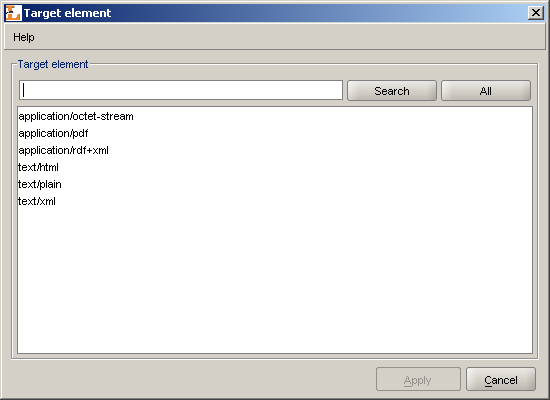
From a new list ( Figure 4.8, “Choosing a group to merge”) choose a group that previously chosen group should be merged to. Edition field up the window makes it easier to find a groups with names containing certain set of characters. An button brings all the groups back to the list.
To finish the process of merging groups press button. Previously chosen group will be merged with new one and it means that old group will be removed and all it's values will be moved to a new one.
Caution! If the target group contains a value with the same name as one of the values from group chosen to be merged, system won't merge these groups and instead will show a dialog with information that this operation cannot be proceeded. Before merging groups it must be assured that there are no duplicate values' names in groups.
All actions can be performed after choosing a certain group in the left list.
To add a value to a group:
In a text field placed below the values' list enter the name for a value that should be added to a group. Name cannot be already in use by other value in a group.
In order to add a value press an button placed beside the text field.
To remove a value from a group:
Choose a value from the right list that has to be removed.
Press the button placed beside the list. Value will be removed from the list and from the system.
Caution! If the chosen value is assigned to a bibliographic description of some library element, the system won't delete such a value and will show a dialog with information that all connections should be removed instead.
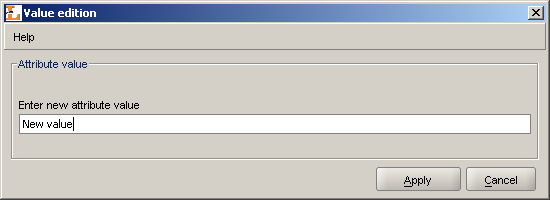
To change the value's name:
Choose a value which name should be changed.
Press the button. A dialog allowing to edit a value will appear.
Enter a new name for a value and press button. If the group's base value was edited then the group will get a new name as well.
To merge two values in a group:
Choose the value that should be merged with other value.
Press the button placed beside the values' list. After confirming a new window will appear with the values' list.
From a new list choose a value to which previously chosen value should be merged to. Edition field up the window makes it easier to find the values with names containing certain set of characters. An button brings all the values back to the list.
To finish the operation of merging the values press button. Previously chosen value will be merged with new one which means that all connections to it will be removed with connections to a new one.
To move a value to a new group:
Choose a value that has to be moved to a new group.
Press the button. After confirming a new window will appear with the groups' list that this value may be moved to.
From a new list choose a group to which previously chosen value should be moved to. Edition field up the window makes it easier to find the groups with names containing certain set of characters. An button brings all the groups back to the list.
To finish the operation of moving the value press button. Previously chosen value will be moved to a new group.
Caution! If the chosen group already contain a value with the same name, system won't move the value to that group and will show a dialog with information that this operation cannot be performed instead.
To change base value in a group:
Choose a value form the list that has to be the new base value.
Press button. Chosen value will become a new base value in a group and therefore a group's name will change into a new one.
Caution! Be sure that there is no group with the same name as chosen value. If such a group already exist the operation of changing base value will not finish correctly.
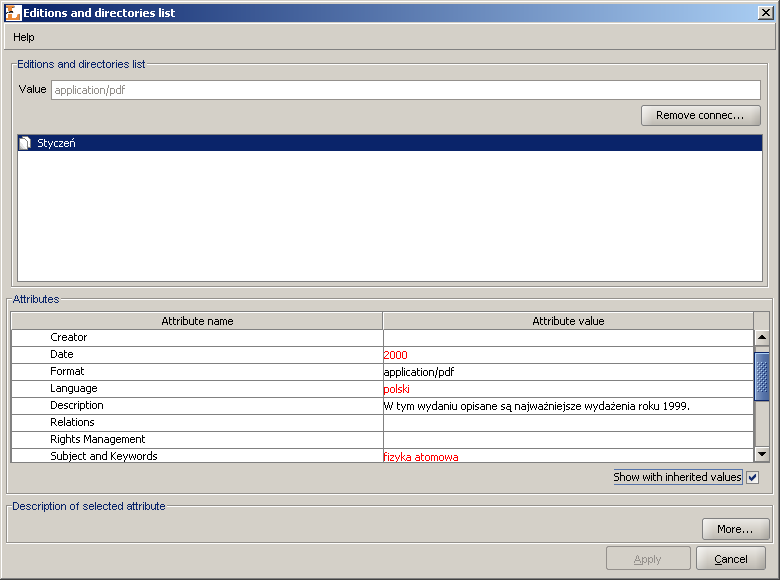
To remove the connections of a value:
Choose a value from a list which connections should be removed.
Press the button. A new window will appear containing a list of editions and directories that bibliographic description is connected with the value. Pressing button any time will cancel all changes made.
Press the button. All editions and directories will be removed from the list.
Caution! In case user has no rights to modify any of the editions or directories, a dialog will appear informing about the problem and no connections will be removed.
Press the button to finish the process of removing the connections.
To create a new library user:
In the Library Tree select the users node or a user node.
From the popup menu select the option. Alternativelly choose
 button from toolbar or
opcję from
menu.
button from toolbar or
opcję from
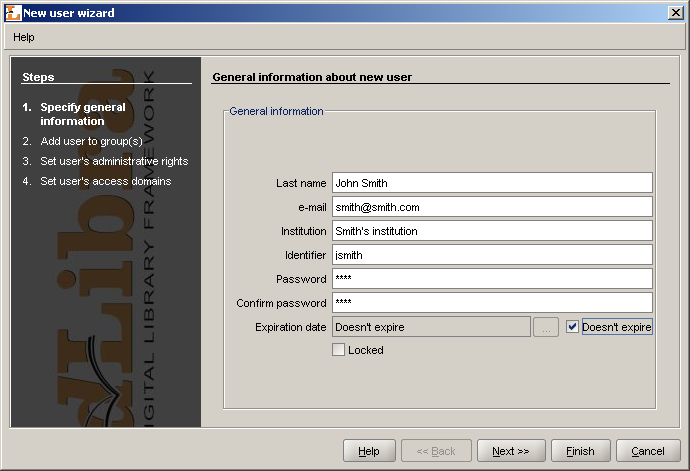
menu.In the wizard (first step - Figure 4.12, “New user wizard - general information”) provide user's general information and press the button to go to the next step. It is to possible to create the user here by pressing the button.
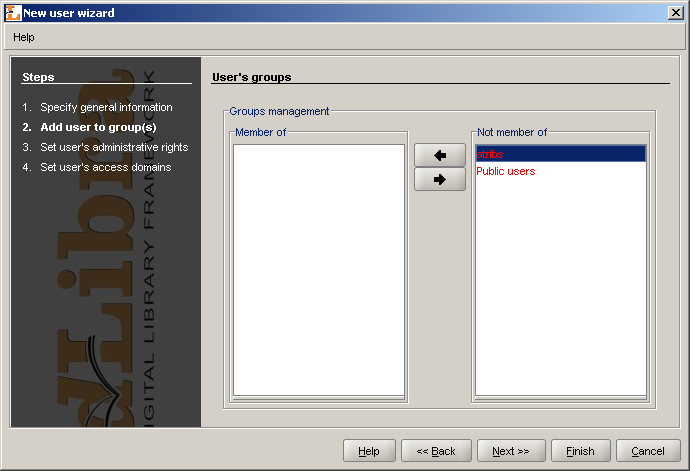
In the second step ( Figure 4.13, “New user wizard - assigning to groups”) assign user to groups. Member of list constains groups which the user will assigned to, Not member of list contains groups which the user will not assigned to. Press the button to go to the next step.
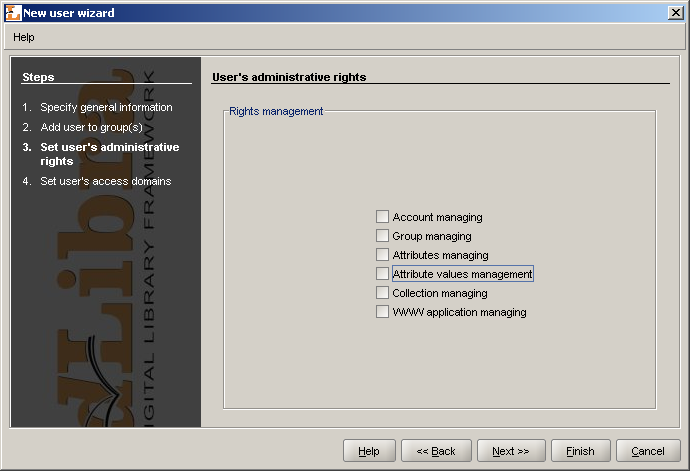
In the third step ( Figure 4.14, “New user wizard - assigning administrative rights”) assign administrative rights to user (the meaning of rights is described in ???). Press the button to go to the next step.
In the last fourth step ( Figure 4.15, “New user wizard - defininf access domains”), assign access domains. Managing access domains is described in details in ???.

To remove a user:
In the Library Tree Select the user to be removed.
Press the
Delete button. Alternatively, a context menu
or a pull-down menu can be used.
To create a new users group:
In the Library Tree select the groups node or a group node.
From the toolbar select
 button or choose
option from popup menu.
You can also choose option
from menu.
button or choose
option from popup menu.
You can also choose option
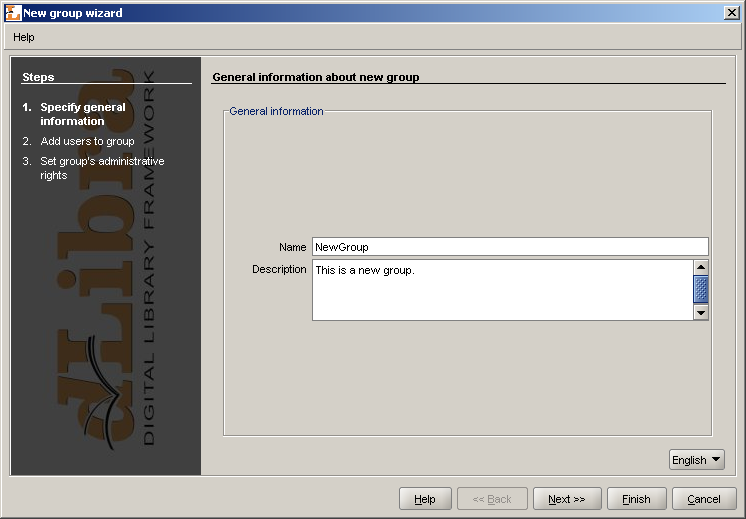
from menu.In the new group wizard (the first step --- Figure 4.16, “New group wizard - general information” ) specify general information (description and name). Press the button to go to the next step. It is to possible to create the group at this point by pressing the button.
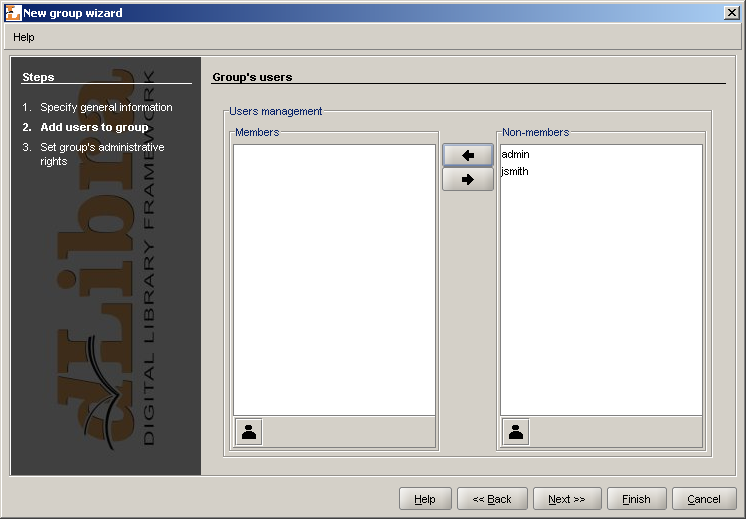
In the second step ( Figure 4.17, “New group wizard - assigning users”) assign users to group. If a user is placed on the Members list then the user will be assigned to new group. zostaną dodani do nowej grupy. Press the button to go to the next step. It is to possible to create the group at this point by pressing the button.
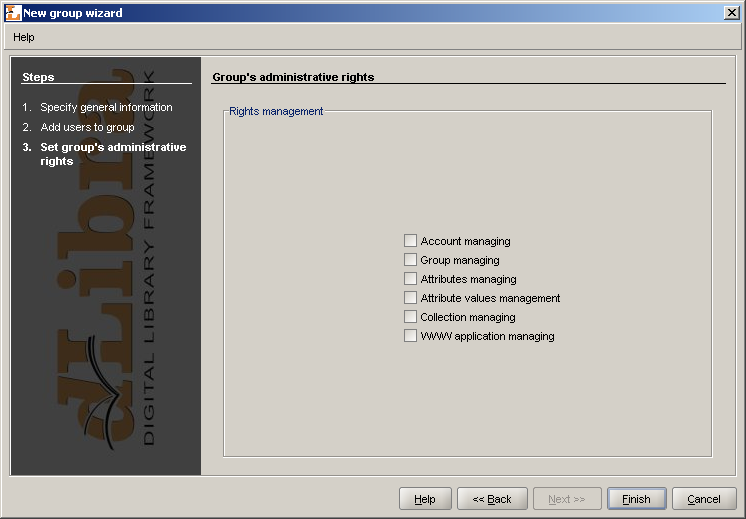
In the last step ( Figure 4.18, “New group wizard - assigning administrative rights”) assign administrative rights to group. Detailed information about the meaning of particular right can be found in ???. Press the button to create the group.
To remove a group:
In the Library Tree select the group to be removed.
Press the
Delete button. Alternatively, a context menu
or a pull-down menu can be used.
![[Note]](gfx/admonitions/note.gif) | Note |
|---|---|
To understand this section basic knowledge about LDAP is required. | |
To create a new LDAP group:
In the Library Tree select the LDAP groups node or an LDAP group node.
Select the
 button from toolbar or choose from popup menu. You can also choose
option from
menu.
button from toolbar or choose from popup menu. You can also choose
option from
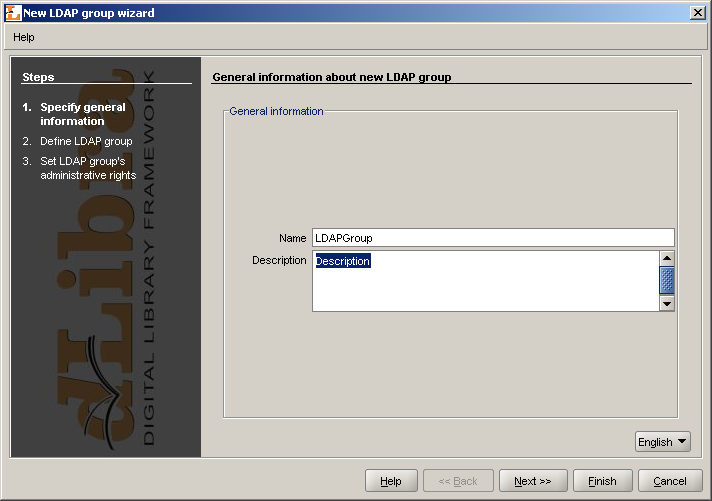
menu.In the first step of new LDAP group wizard ( Figure 4.19, “New LDAP group wizard - general information”) specify general information.
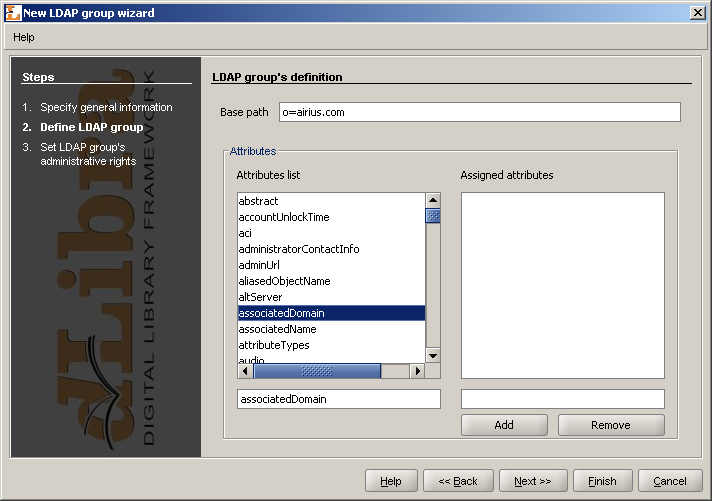
In the second step ( Figure 4.20, “New LDAP group wizard - defining LDAP group”) define group. Assign group attribtues and base path. Attributes are listed in Attributes list. Assigned attribute-value pairs are listed in Assigned attributes list. To add attribute:
Enter attribute name (or select it from Attributes list list) in the Attributes list text field,
Enter attribute value in the Assigned attributes text field and press button.
To remove attribute-value pair, select it on Assigned attributes list and press button. Press the button to go to the next step. It is to possible to create the LDAP group at this point by pressing the button.
In the last step ( Figure 4.21, “New LDAP group wizard - assigning administrative rights”) assign administrative right. To create new LDAP group press button.

To remove an LDAP group:
In the Library Tree select the LDAP group to be removed.
Press the
Delete button. Alternatively, a context menu
or a pull-down menu can be used.